
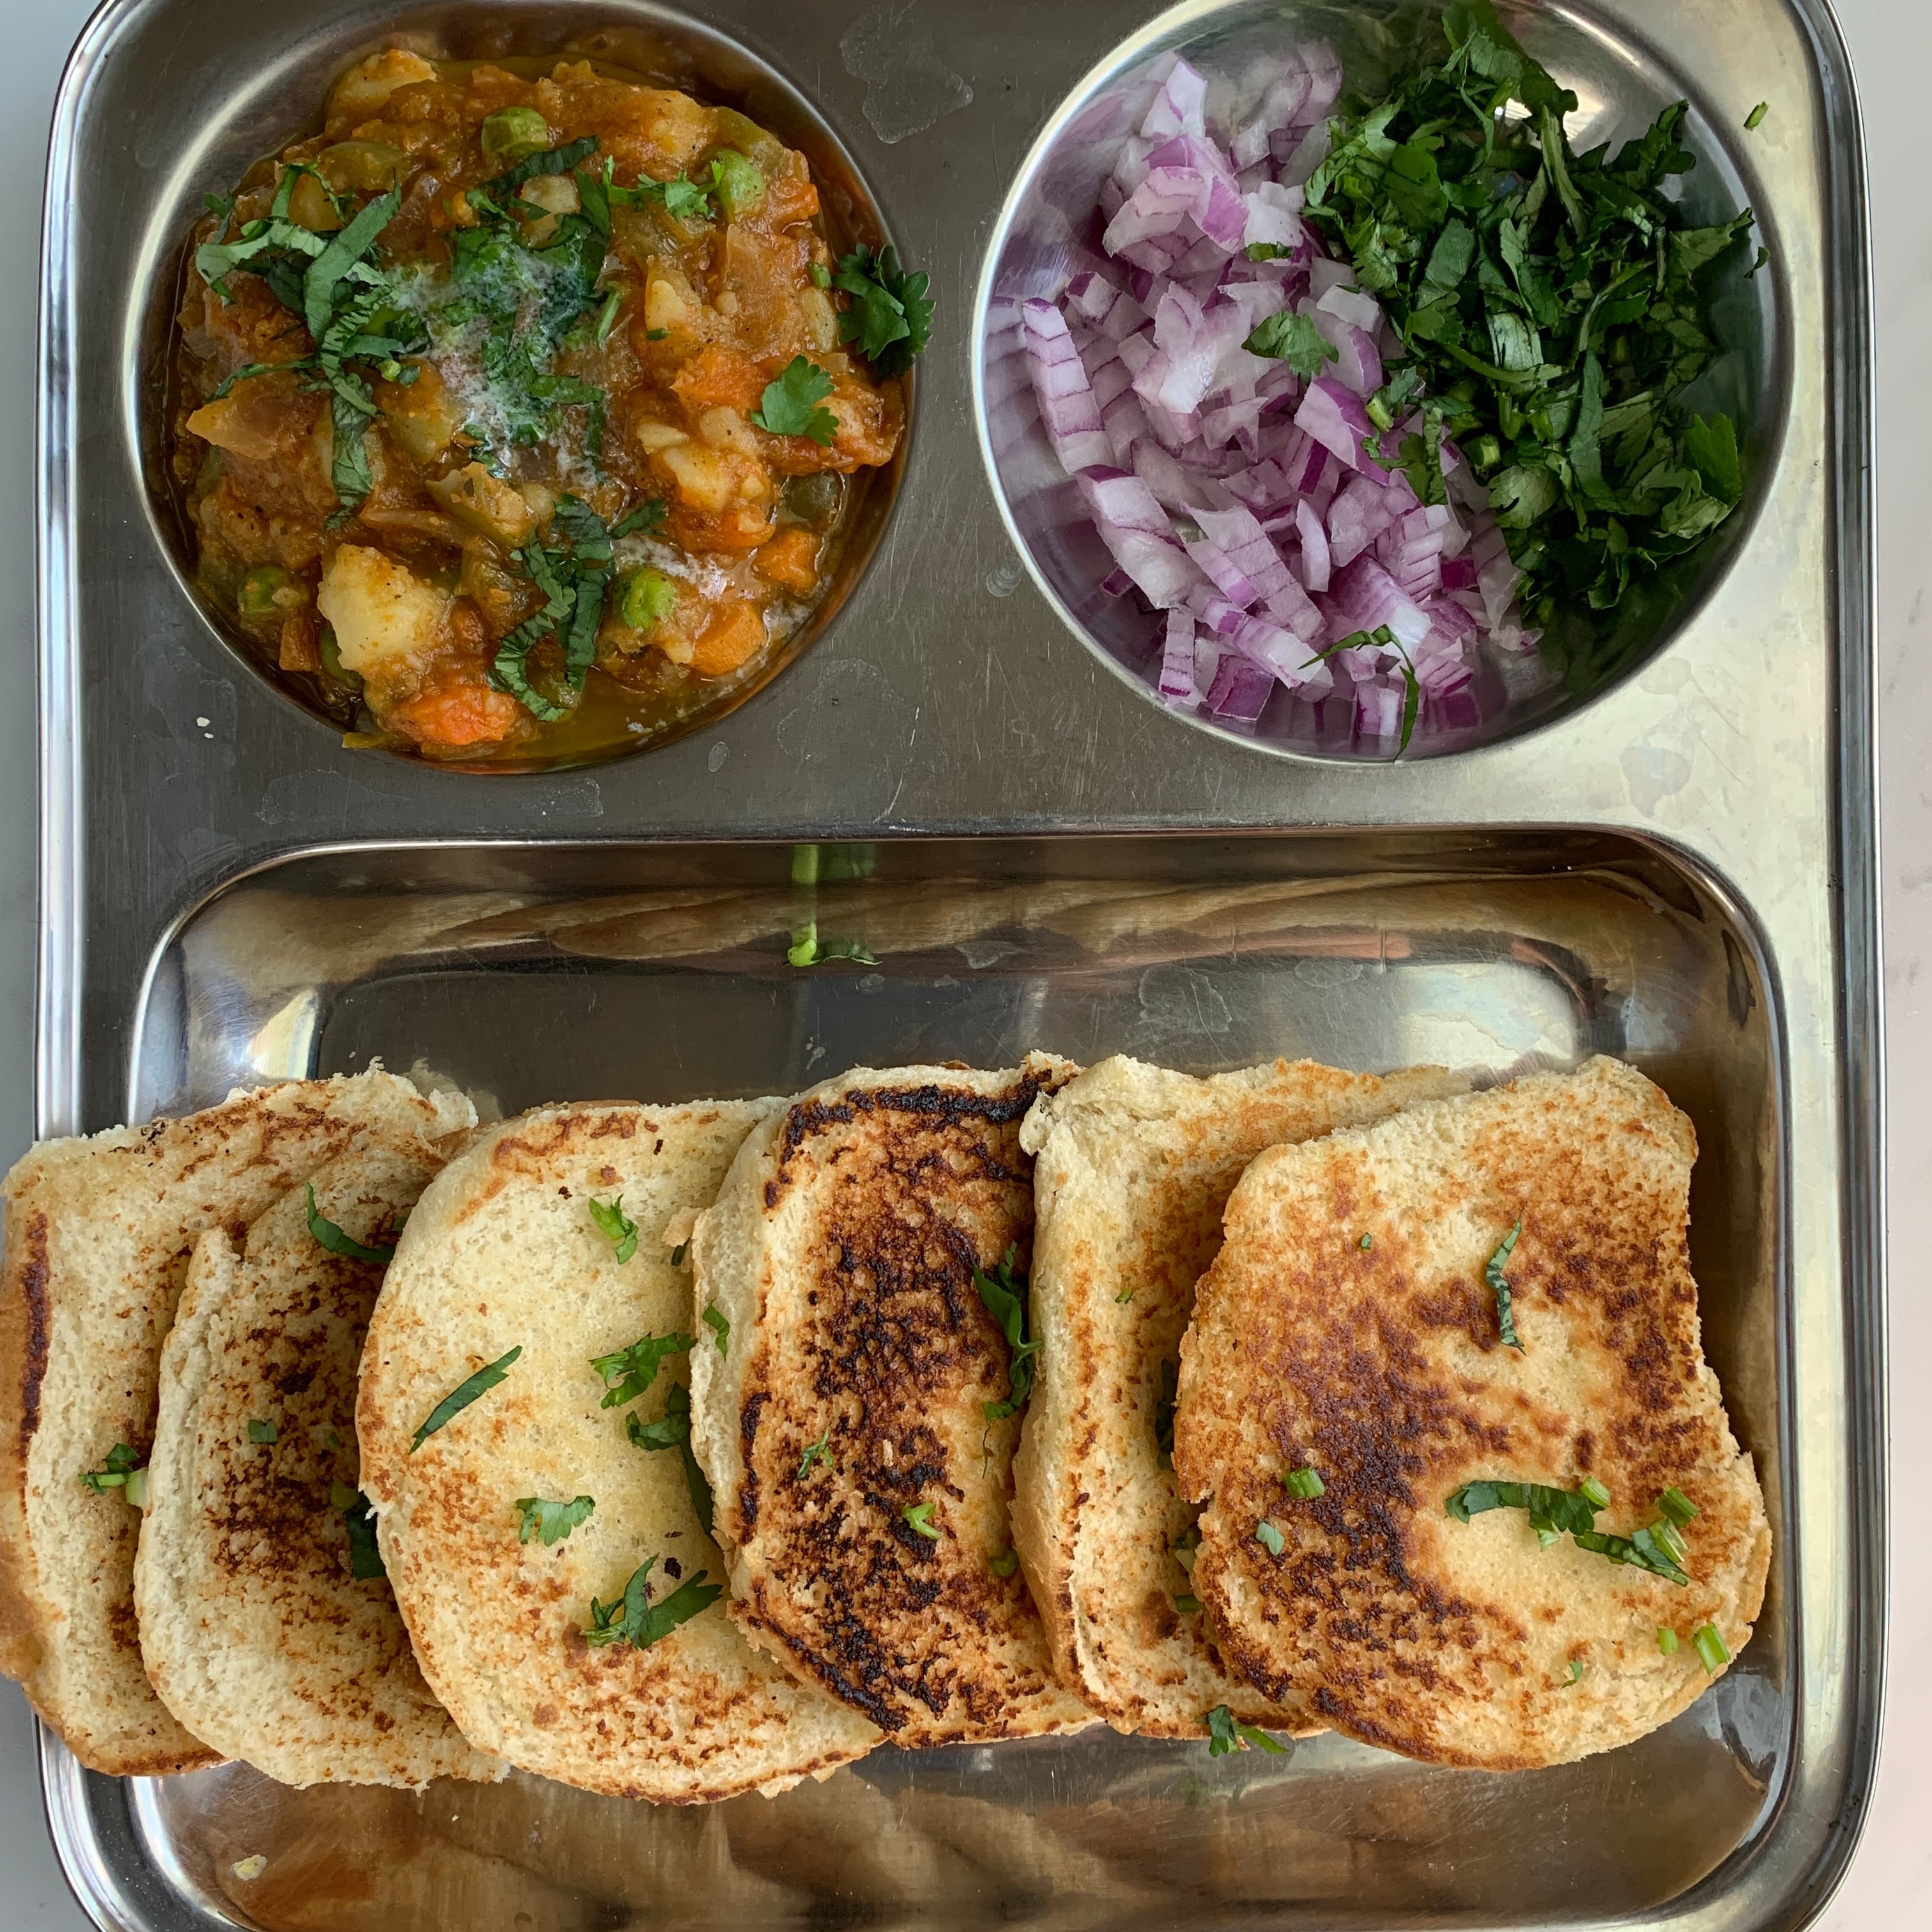
Classic Pav Bhaji
Appetizers & Chaats
- Complete the plate
- A full plate on its own
- Turn leftovers into
- Pav Bhaji Pizza →
- Serves
- 4
- Hands-on · total
- 25 min · 55 min
- Walk-away
- Yes, once it's going
Quick with bread. About 25 min if you have bread ready.
 From my
kitchen
Day 2 plan
Make a larger batch of the bhaji and refrigerate it separately from the bread. Reheat the bhaji with a splash of water and serve with freshly toasted pav.
- Cook this meal
Ingredients & method
Prep
20 mins
Cook
52 mins
Total
72 mins
Serves
4Ingredients
Vegetables for the Bhaji
For Serving
Lemon wedges
for toppingFinely chopped onionsInstructions
Cook the Vegetables
- 01
Wash and chop the potatoes, carrots, cauliflower, and green beans.
- 02
Add them to the Instant Pot with enough water to cook.
- 03
Pressure Cook on High for 6 minutes, followed by a natural pressure release.
- 04
Drain any excess water if needed and set the vegetables aside.
Prepare the Bhaji
- 05
Turn the Instant Pot to Sauté mode.
- 06
Add the oil (or butter) and cumin seeds.
- 07
Once the cumin splutters, add the onions and cook until softened.
- 08
Add the tomatoes and cook until they become completely soft.
- 09
Add the bell pepper and sauté for another 2 - 3 minutes.
- 10
Add the red chili powder, turmeric, coriander powder, cumin powder, Pav Bhaji Masala, and salt.
- 11
Cook the spices for about a minute.
- 12
Add the cooked vegetables back into the pot.
- 13
Using an immersion blender or potato masher, mash the vegetables until you reach your preferred consistency. Leave a little texture if you enjoy a chunkier bhaji.
- 14
Add the frozen green peas.
- 15
Add enough water to reach your desired consistency.
- 16
Simmer on Sauté (Low) for 20 - 30 minutes, stirring occasionally.
- 17
Taste and adjust the seasoning before serving.
- 18
This is the original method. It takes a little longer, but the extended simmer develops a much richer, deeper flavor.
- 19
The long simmer is the secret. Street-style Pav Bhaji develops its signature flavor from simmering for 20 - 30 minutes after the vegetables have been mashed. Don't skip this step if you have the time.
- 20
I prefer cooking the vegetables separately first because it gives me complete control over the texture of the bhaji. It's much easier to mash everything smoothly without overcooking the aromatics.
- 21
Use an immersion blender for the smoothest consistency, but don't completely puree it. A little texture makes the bhaji more satisfying.
- 22
If the bhaji becomes too thick while simmering, simply add a little hot water until it reaches your preferred consistency.
- 23
A small knob of butter or ghee stirred in at the very end gives it a richer, restaurant-style finish.
- 24
Toast the pav with butter (or ghee), a sprinkle of Pav Bhaji Masala, and a little cilantro for the best flavor.
Day 2 plan
Make a larger batch of the bhaji and refrigerate it separately from the bread. Reheat the bhaji with a splash of water and serve with freshly toasted pav.
More Appetizers & Chaats
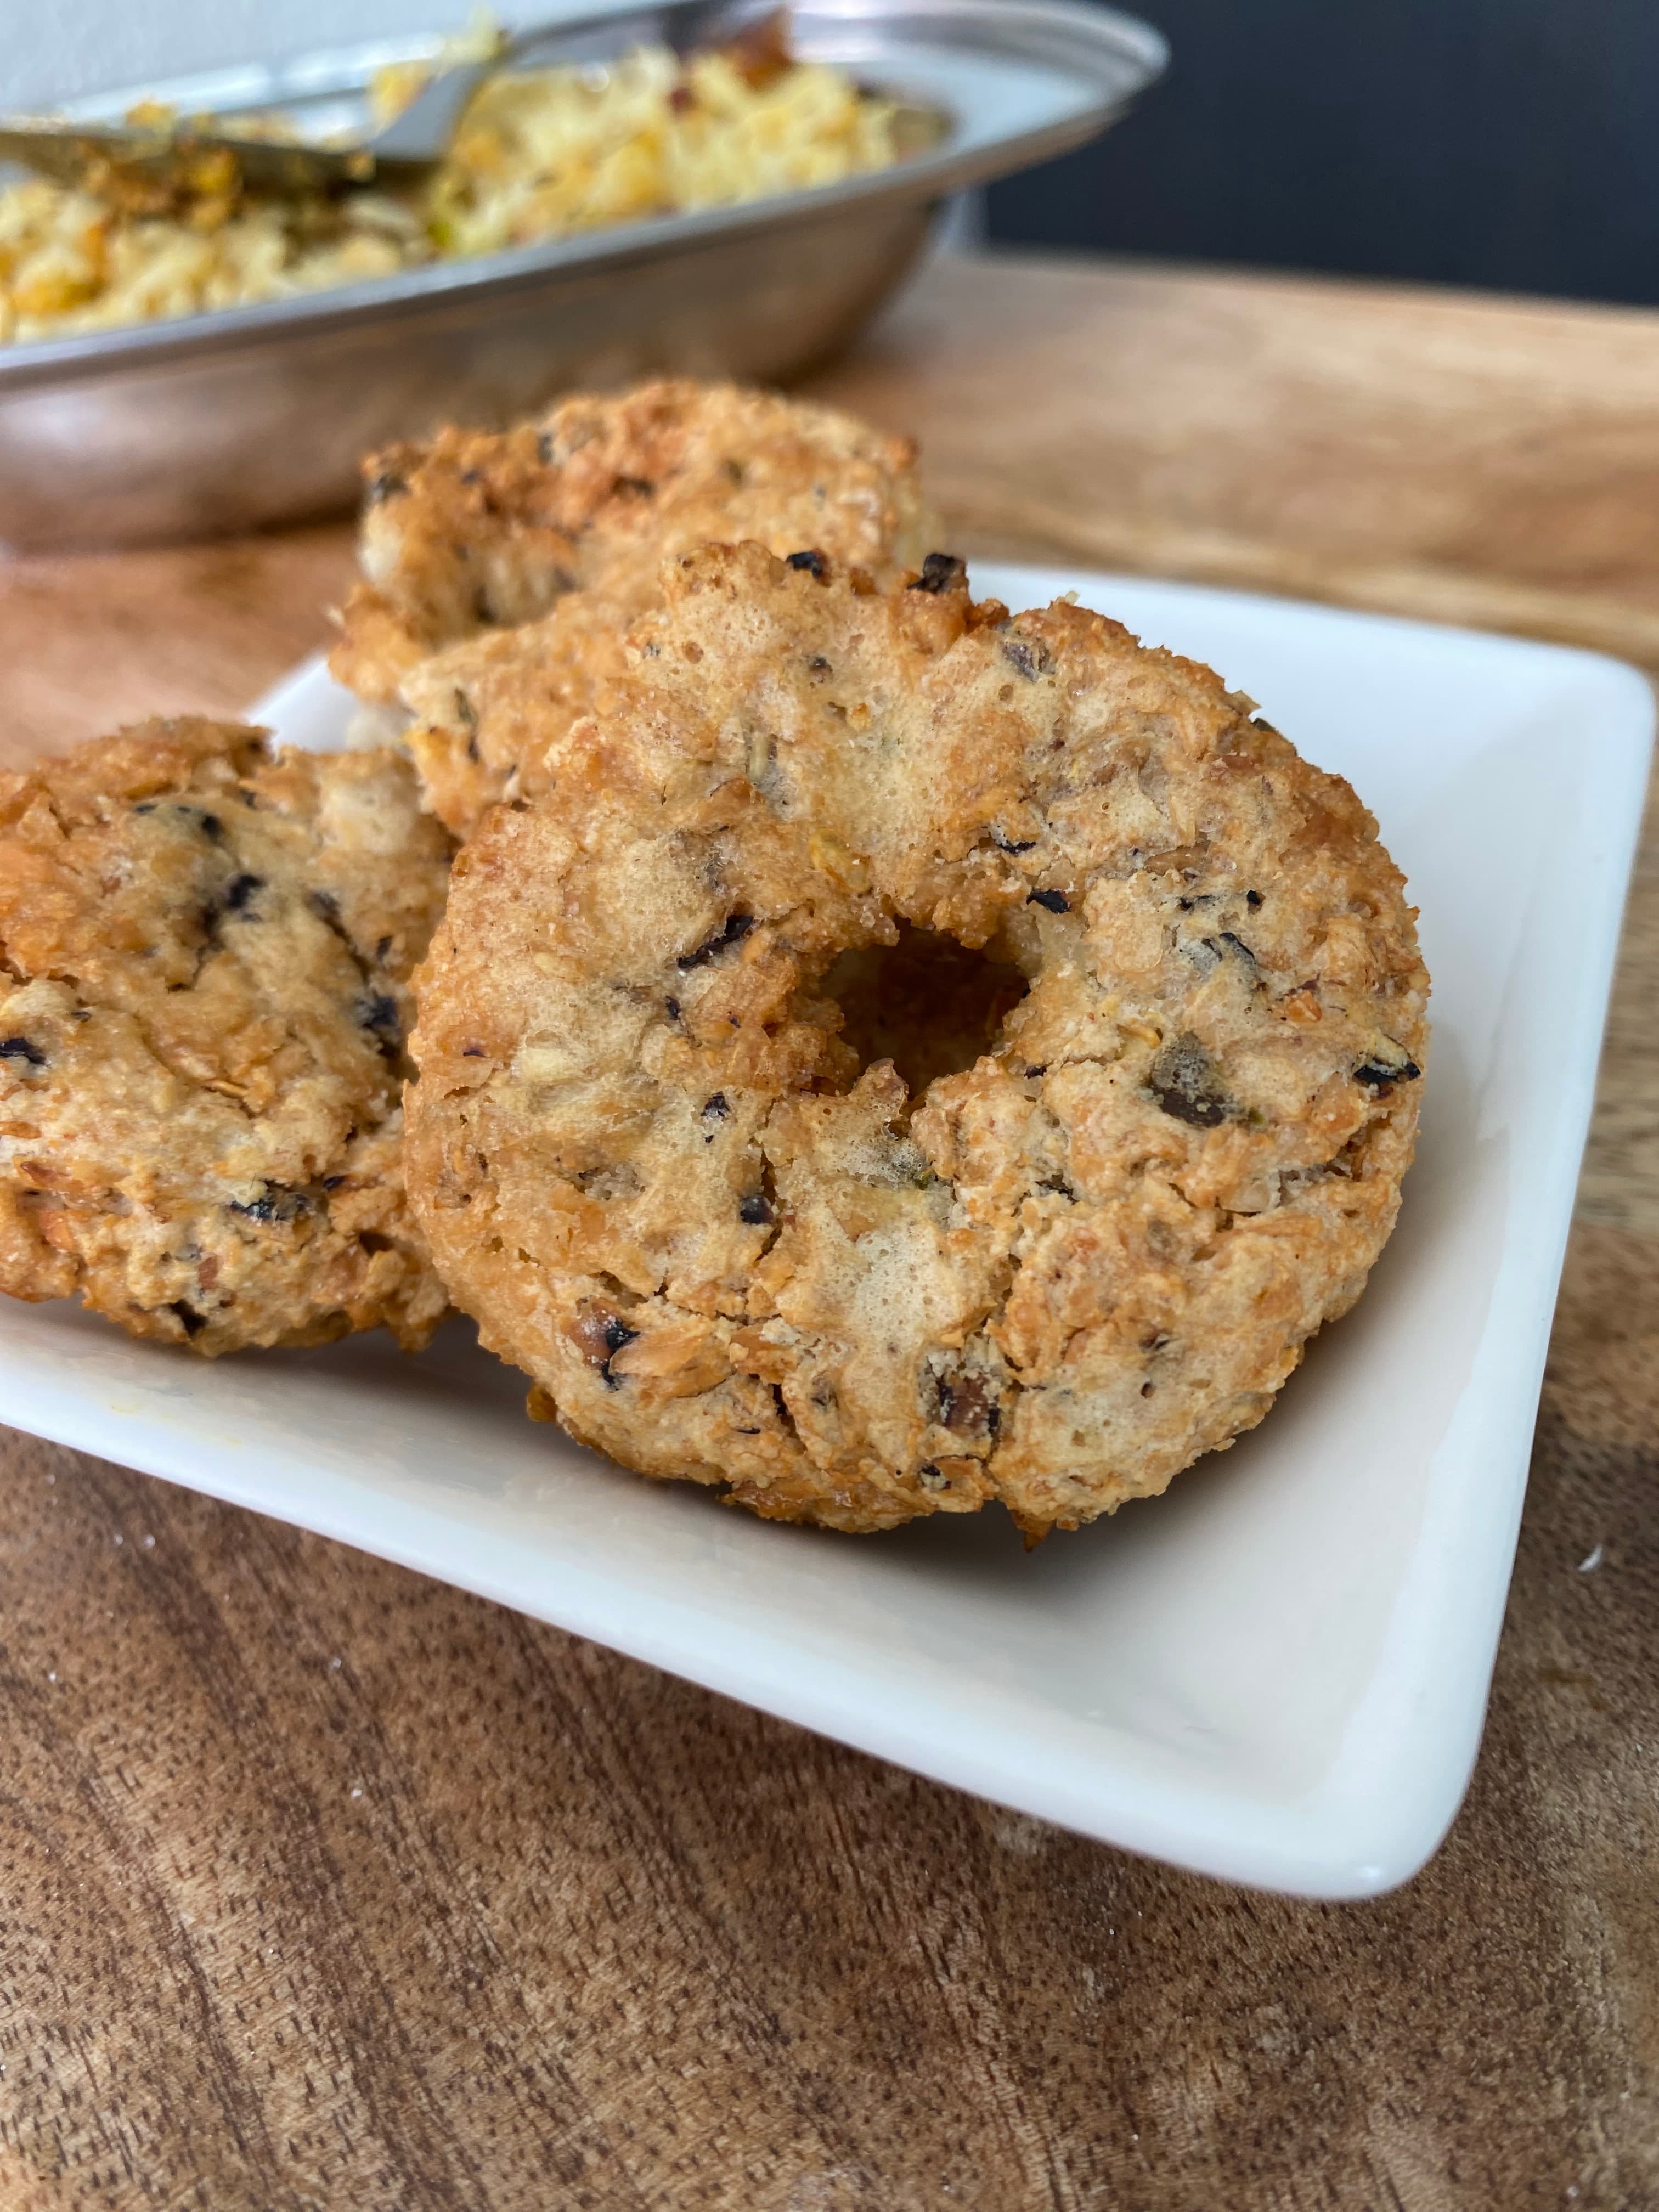
Alasandha Vada (Air Fryer Black-Eyed Pea Fritters)
28 minAppetizers & Chaats
A snack, not a meal
 Real image coming soon!
Green Chaat Chutney (Cilantro Mint Chutney)
15 minAppetizers & Chaats
Served alongside a meal
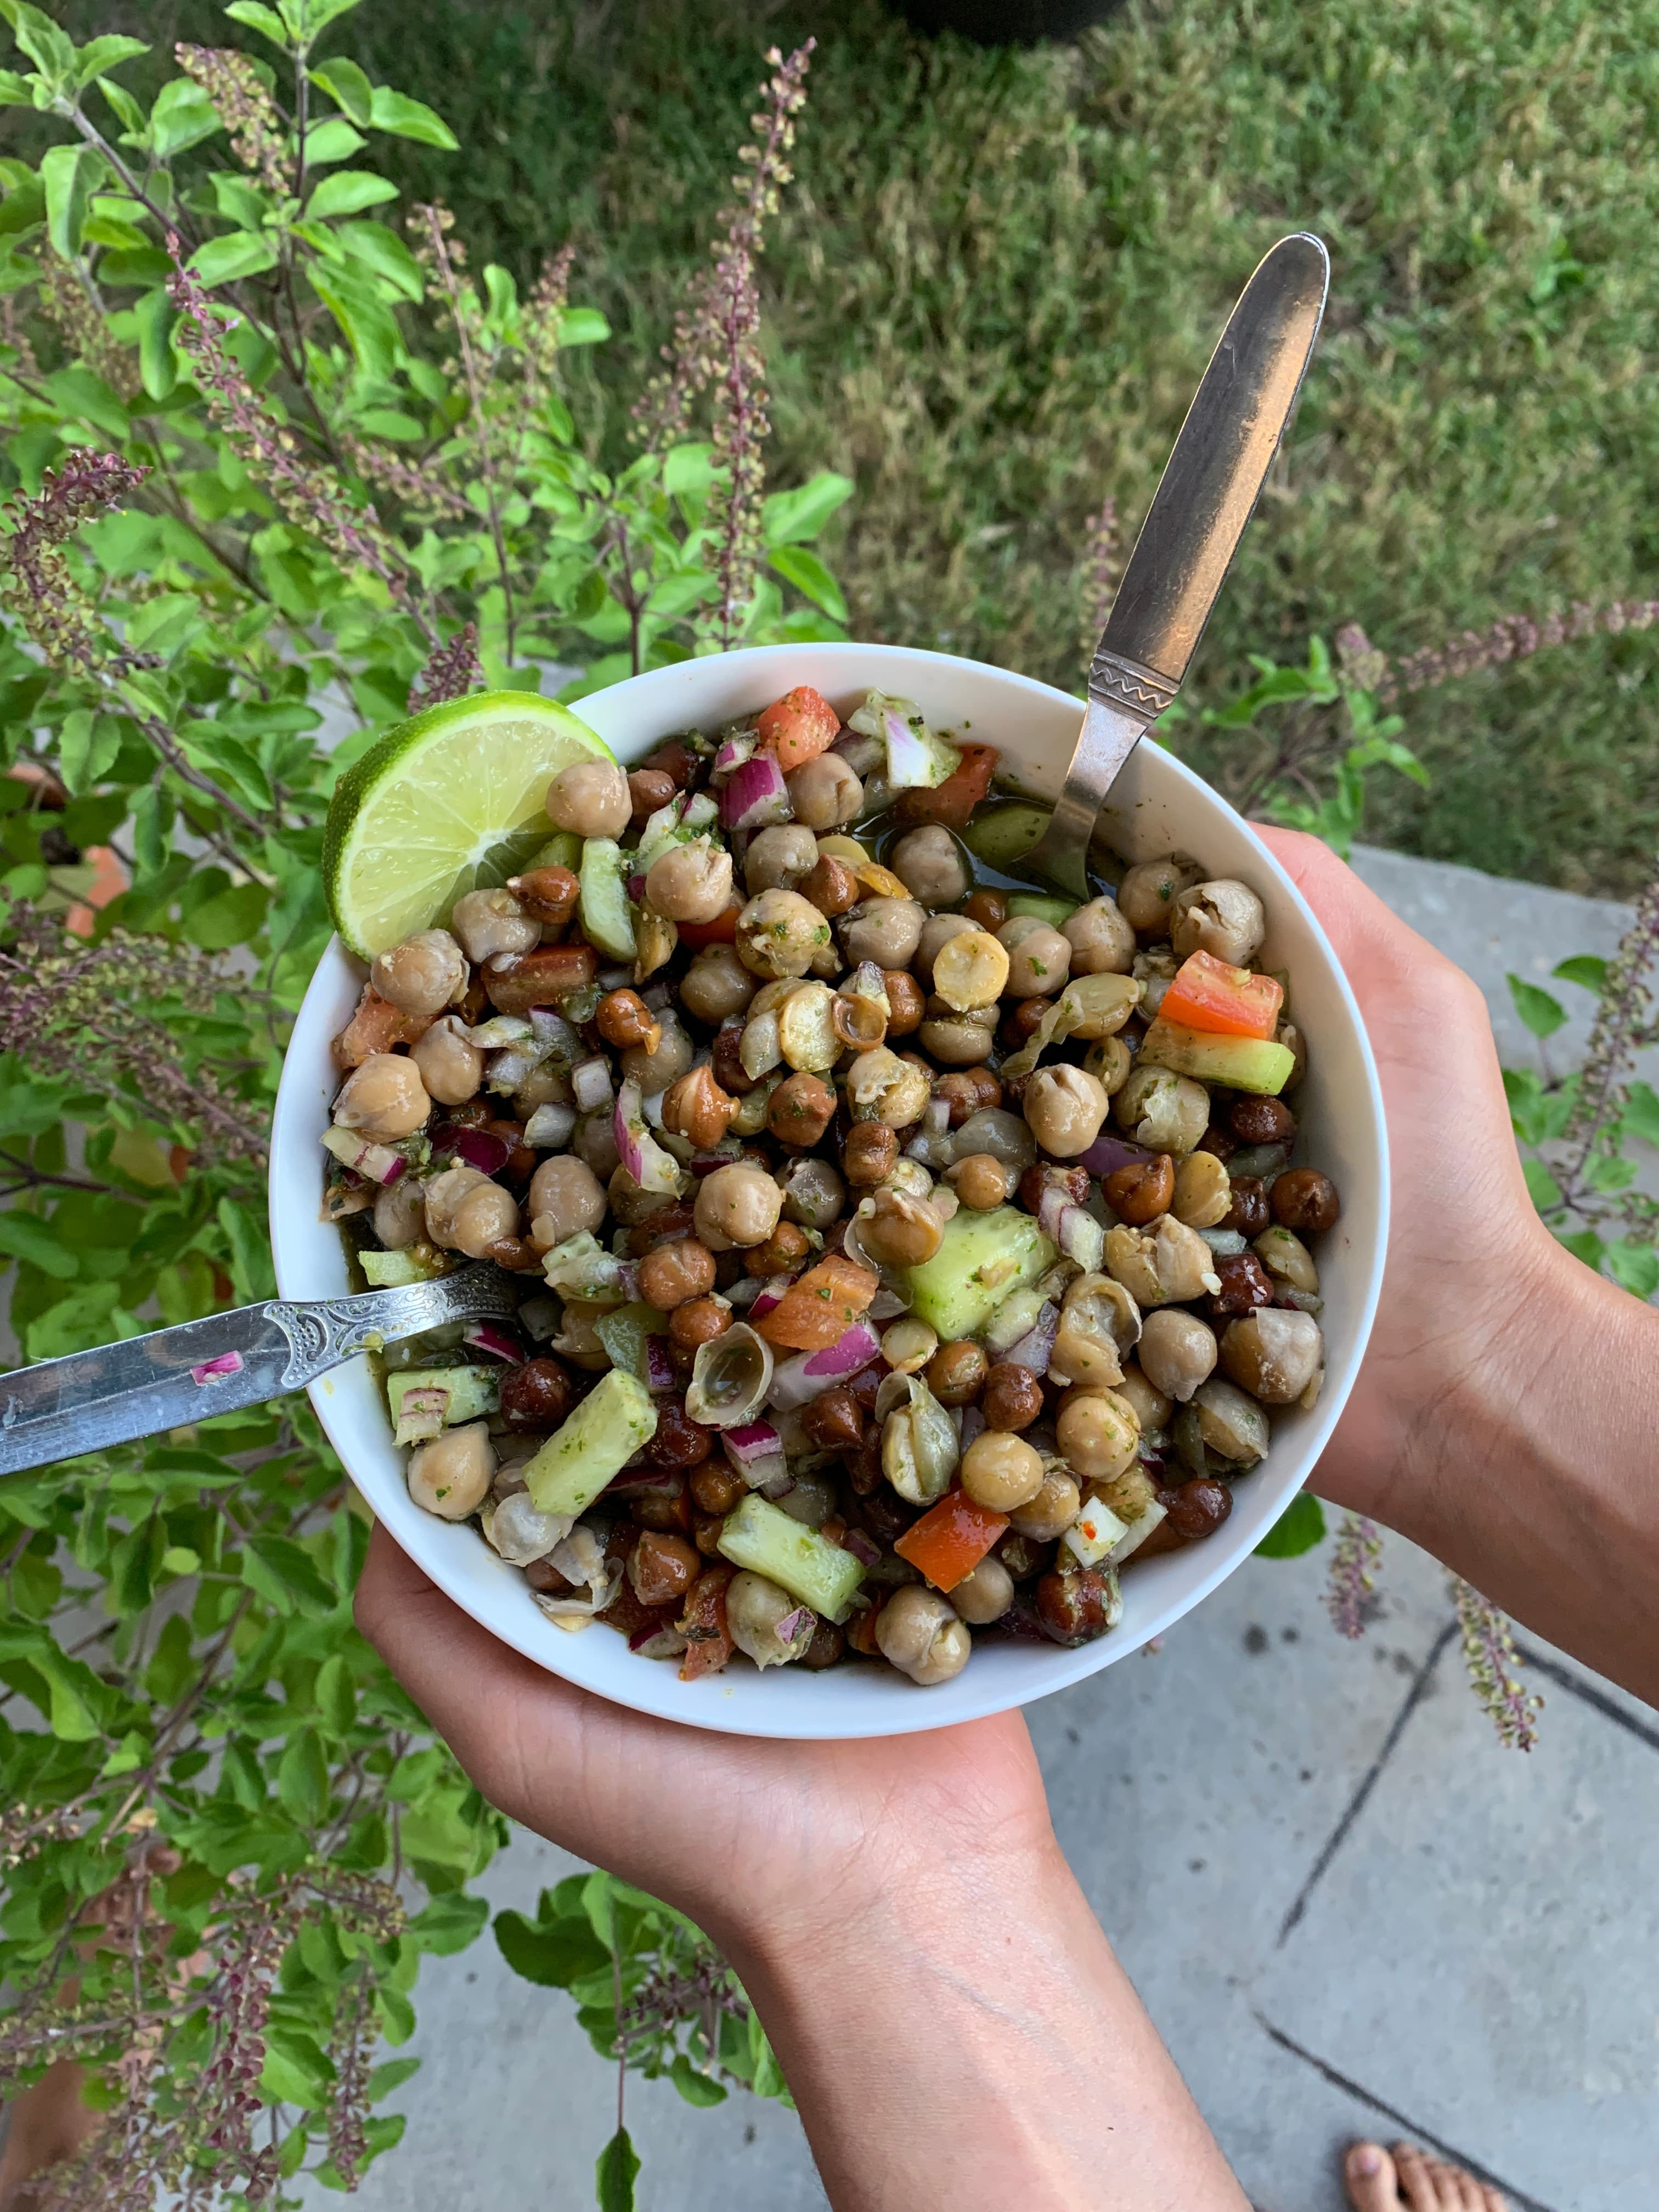
Kala Chana Chaat
50 minAppetizers & Chaats
Complete meal on its own